I'm doing a series of 25 minute sessions where I try to get familiar with the Rust programming language. The blogposts in these series are the notes I took of the lessons learned along the way. This post is a summary of the first session, where I try to set up a Rust development environment on my Windows 10 machine.
Warning to the reader: As always in this series, these are notes I take as I'm learning, they reflect my current understanding and may be incorrect!
Why Rust?
There have been quite a few new programming languages in the last few years. Rust seems to be one of those that is sticking. It has its specific place as a "system's language".
It seems applicable in scenarios where currently C++ is used often. It has some advantages like memory safety, easier concurrency, ... or so I've read.
I thought I could spend some time playing around with it. Not with the intention of becoming an expert, but to at least get familiar with it.
Choosing an editor
As I'm familiar with Visual Studio, I'd like to write Rust in either Visual Studio or Visual Studio Code.
Both will need some extensions to support Rust. I can choose one or the other depending on the maturity of these extensions.
Visual Studio
The main extension I can find is Daniel Griffen's "Rust" Extension
It offers:
- code completion
- goto definition
- find all references
- error squiggles
- code action (lightbulb)
- rename
But the homepage also states:
Please note that this extension is very early in development. At this time setup is more complicated than similar extensions for Visual Studio Code. This will be fixed in future versions.
Something a little more mature would be nice, but this is really the only extension for Visual Studio I can find. So I'll look at what's available in Visual Studio Code first.
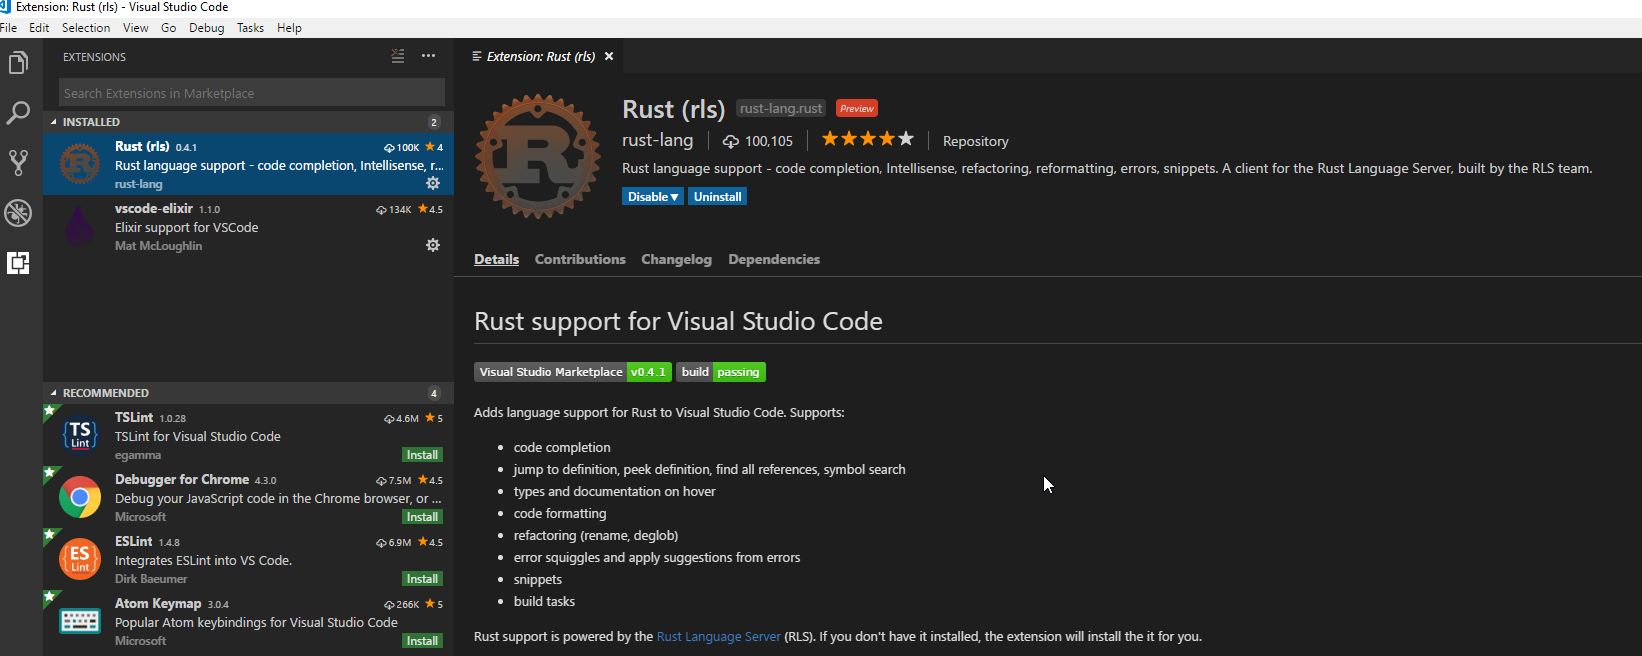
Visual Studio Code
There are various extensions available, the most popular ones seem to be derived from each other:
- RustyCode
- seems to be unmaintained (last GitHub update 2 years ago)
- vscode-rust
- Is a "continuation of RustyCode", but the maintainer mentions "rls-vscode" will supersede vscode-rust
- rls-vscode
- Also known as "Rust (rls)", seems to be actively maintained and doesn't mention a superseding Extension
So I'll go with the Rust (rls) Extension for Visual Studio Code, which comes with the following features:
- code completion
- jump to definition, peek definition, find all references, symbol search
- types and documentation on hover
- code formatting
- refactoring (rename, deglob)
- error squiggles and apply suggestions from errors
- snippets
- build tasks
But before that, I need to install it.
Installing Rust (rls)
There's a quick-start online:
- Install rustup
- Install this extension from the VSCode Marketplace
- Create a new Rust project by following these instructions.
- Open a Rust project (File > Open Folder...). Open the folder for the whole project
- You'll be prompted to install the RLS. Once installed, the RLS should start building your project.
Installing rustup
Instructions for installing Rustup, the "rust toolchain manager", are on the website: https://www.rust-lang.org/en-US/install.html.
An installer is available: rustup-init.exe
First I installed this by running rustup-init.exe as Administrator. Do not do this. Instead run it as a regular user.
This way the toolchain is installed for your user and all the PATH variables are set correctly.
I choose all default options for the installation.
After running the rustup-init.exe as my regular user I open a Windows Command Prompt and type rustc --version to check if the tools are available:
C:\Windows\System32>rustc --version
rustc 1.25.0 (84203cac6 2018-03-25)
Looks good!
Installing (Rust (rls))
In Visual Studio Code, go to the Extensions and find the Extension called "Rust (rls)". Click "Install".
Create a new Rust project
To continue with the installation, I need a open Rust a project.
Rust can create a "hello world" world application using Cargo, the package manager for Rust:
cargo new hello_cargo --bin
cd hello_cargo
This creates the hello_cargo folder which I must now open using Visual Studio Code
Install RLS
In the quick-start, the following is said:
- Open a Rust project (File > Open Folder...). Open the folder for the whole project (i.e., the folder containing 'Cargo.toml'), not the 'src' folder.
- You'll be prompted to install the RLS. Once installed, the RLS should start building your project.
After opening the hello_cargo folder the following message appears:
nightly toolchain not installed, install?
Source: Rust (rls) (Extension)
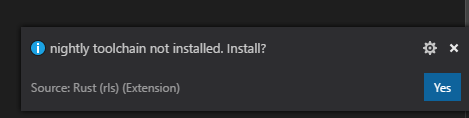
It's not exactly "RLS" but it looks like this is what I should install. So I say "yes".
A message, with a spinner, appears saying
"RLS installing toolchain".
This takes a few minutes to complete
Install RLS (2)
After installing the Toolchain, the following message appears:
RLS not installed. Install?
Source: Rust (rls) (Extension)
The quick-start doesn't mention the toolchain, but it looks like that's needed first before installing "RLS" itself.
So I say "yes" again.
While installing, I see a message:
"Installing components..."
It takes quite some time (about 5 minutes).
After the installation I can perform "Go to definition", see squiggle lines for errors, ...
Success!
What is RLS?
RLS stands for Rust Language Server. It's a service that can provide IDE's and Editors with information about Rust code.
That means, it's not the Visual Studio Code Extension that will be parsing your Rust code to provide tips, autocompletion, ... It's a common service that different IDE and Editor Extensions can talk to. This makes it easier to add Rust language support to applications.
Building Rust
I was expecting to be able to build my code directly from the editor, with a shortcut of some sort. But that doesn't seem to work.
Instead I try to build Hello world from the command line.
But after running cargo run I get this error:
C:\Users\username\Documents\Programming\Training\Rust\hello_cargo>cargo run
   Compiling hello_cargo v0.1.0 (file:///C:/Users/username/Documents/Programming/Training/Rust/hello_cargo)
error: linker `link.exe` not found
  |
  = note: The system cannot find the file specified. (os error 2)

note: the msvc targets depend on the msvc linker but `link.exe` was not found

note: please ensure that VS 2013 or VS 2015 was installed with the Visual C++ option

error: aborting due to previous error

error: Could not compile `hello_cargo`.

To learn more, run the command again with --verbose.
I don't have VS 2015 ... But I do have 2017. Perhaps not with the "Visual C++ option"?
This will be for the next 25 Minutes of Rust. As my time is up now.
Conclusion
I seem to have succesfully installed Rust language tooling in VS Code.
I don't have a debugger (yet?).
I was unable to run rust projects using cargo run because of something with Visual Studio 2015 and a missing link.exe.
It looks like there will be another 25 minutes to set up the build environment. Looking back, it was probably smarter to focus on getting cargo run to work with the hello world project, before trying to get integration in Visual Studio Code.
